Adding Electric and Lighting to a Screened Porch: 5 Things to Consider

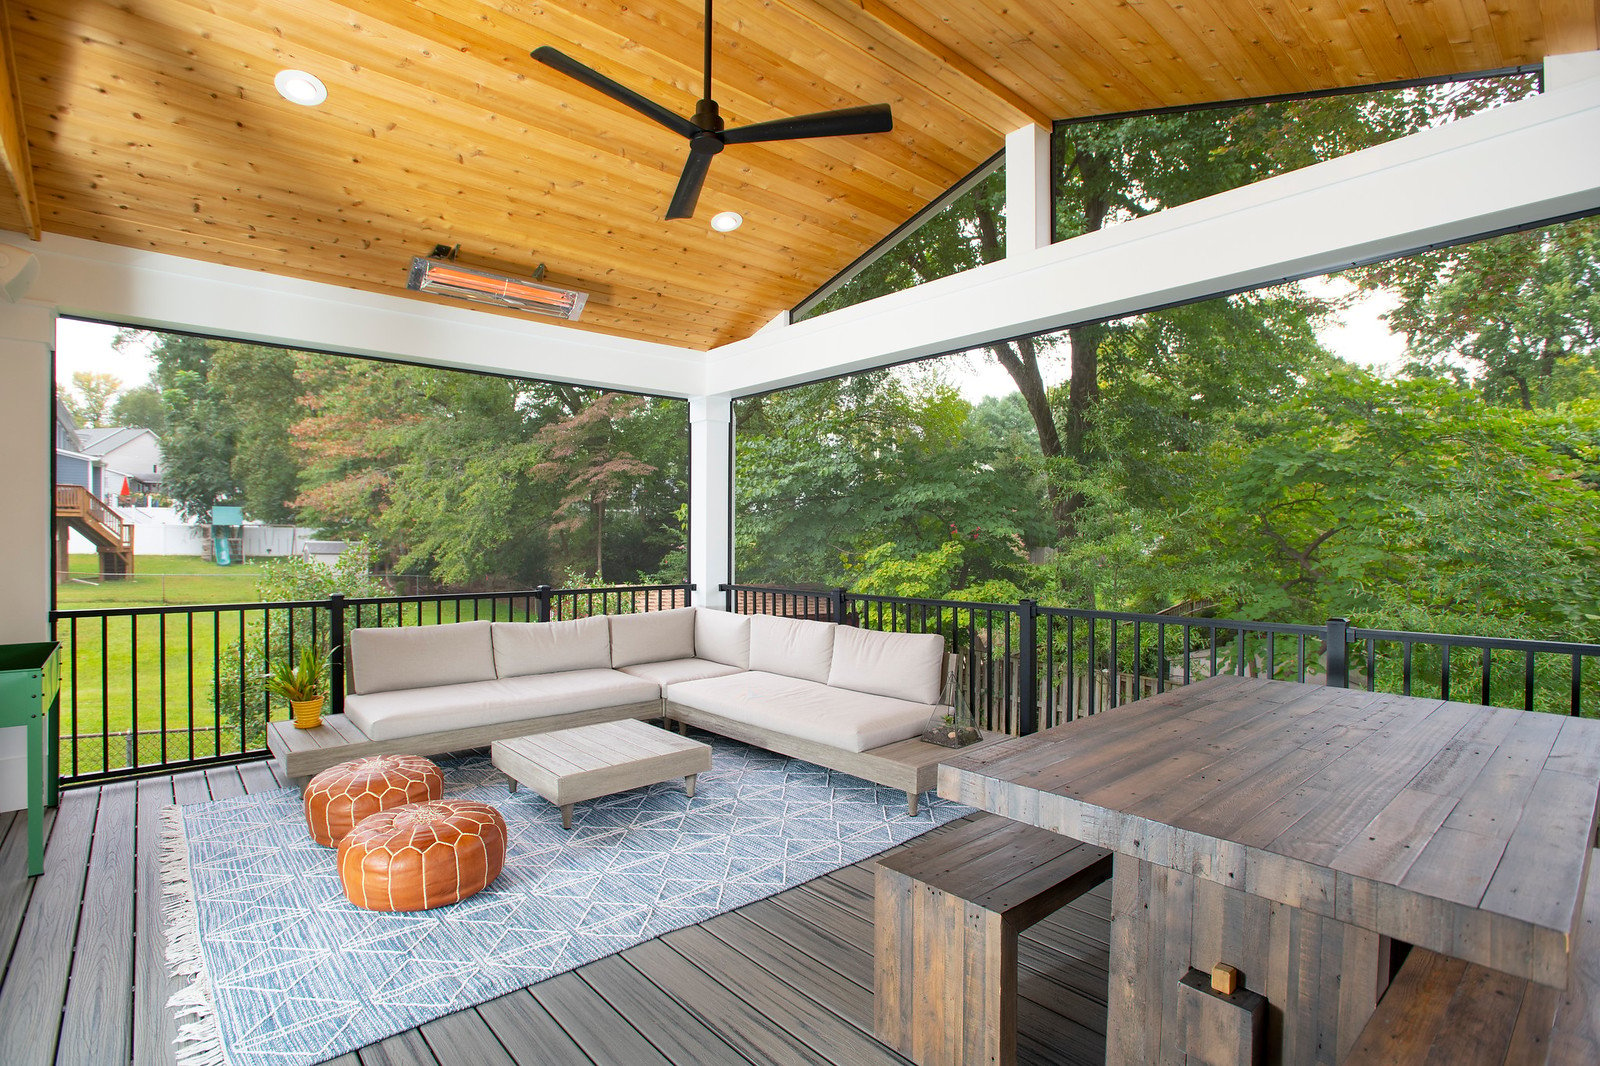
More and more people are coming to Design Builders asking to install infrared heaters in existing structures. Its complicated for a few reasons. One of the biggest is power. Adding electrical and lighting elements to a screened-in porch is a great way to make the space as comfortable, usable, and functional as any interior area. However, as with any construction project, there are some considerations to keep in mind before you jump headfirst into the work. Here are the top five things to think through as you plan and design your ideal screened-in porch.
1. Secure a Permit
When setting up even one single item that requires electricity, you’ll need to secure the proper permits. Often, your professional design and build firm will handle this permit-related work, but if you’re tackling a job on your own, don’t simply dive in! Talk to the proper people, and go through the necessary channels to ensure your job will be fully compliant and to code.
2. Plan for Minor, Expected Damage Caused by the Circuit Work
If you’re taking a circuit through the house and into the circuit box, you’ll probably be looking at some minor but necessary drywall damage. This typically isn’t going to be anything major or overly destructive, but be aware you’ll need to factor in some time and money for drywall repair and painting to patch this work. If you’re running the circuit line all the way to the porch through the house, this drywall repair and painting will need to be done at all necessary points along the way.
3. Know the Requirements of Burying Conduit
Whether you bury conduit or take the circuit through the house will largely depend on how difficult it is to access the screen porch area. If your project does require you to bury conduit outside, make absolutely sure you’re doing everything to code. This includes being GFI protected and burying everything to the appropriate depth. Anything twenty amps and under, for example, can be buried at one foot, but once that jumps to thirty amps, you’ll need to bury it eighteen inches. In either case, after you dig (between twelve and eighteen inches), you’ll need to get a full trench inspection.
Again, if you’re working with a reputable local design and build firm, that company should be very familiar with the regulations and requirements of these types of projects in your area, but if you’re doing the work independently, fully educate yourself about your district’s code requirements and inspection processes.
4. Know What Your Circuit Box Can Handle
When undertaking a project that requires adding a circuit, you need to know what your current circuit box can allow for. First, check if there’s space in the box to add one or more circuits (Note, if you’re adding a light and fan, for example, you’ll probably only need one space; if you’re adding additional items, such as heaters, you could need two or more.) You’ll need to determine if your electrical panel can handle everything you plan to add.
Possible amenities include the following:
- Ceiling fans
- Outdoor heaters
- Audio systems or speakers
- Recessed lights
- Sconce lights
- Flood lights
- LED disc lights
- Outlets
- Exterior kitchen appliances
- Televisions
- Retractable screens
- Snow-melt systems (for patios)
If there isn’t any extra space in the panel, you’ll likely need to add a subpanel. If, however, you only need a single extra space, you might be able to get away with just adding a tandem breaker, which splits an existing slot into two.
In the worst-case scenario, your panel will only be able to handle a low amount of amps and you’ll be adding substantial amenities, such as heaters. If there’s a risk of overloading, you’ll have to “heavy up” the existing panel. This is a more financially extensive project, but luckily this scenario is quite rare.
When adding a subpanel, costs can vary based on a number of factors, but expect somewhere in the range of $100 to $200 for materials (subpanel and breakers) and two to four hours of labor ($200 to $400).
Lastly, you’ll need to think about the age of the panel. In older homes, if might be necessary to upgrade your panel before adding additional strain. The make and model of panel can matter as well. If you have a Federal Pacific panel, for example, you’ll have no choice but to change.
5. Think about the Placement of Switches
One thing to consider is whether you want your switches installed inside or outside. If surface mounted outside, you’ll need to ensure those switches are weatherproof, meaning they’ll need weatherproof covers. If you don’t like the looks of these covers, there’s really no way around them. If you’re set on external switches, you’ll have to deal with these somewhat aesthetically clunky additions.
If you opt for switches inside, the only real thing to consider is the minor damage to the house that’ll need to be repaired. If your home is brick or stone, however, recessing these switch boxes into that material can be difficult; otherwise, it’s as simple as cutting into drywall or plaster.
Adding electrical elements and lighting to any outdoor living space comes with a unique set of challenges and logistical hurdles, but being prepared is the best way to face any potential obstacles that arise. Once you’ve worked out or accounted for any issues with your particular project, you’ll be well on your way to having a screened-in porch you can enjoy as much as any room in the main house!

